Show Table Data from AL Test Runner

Why?

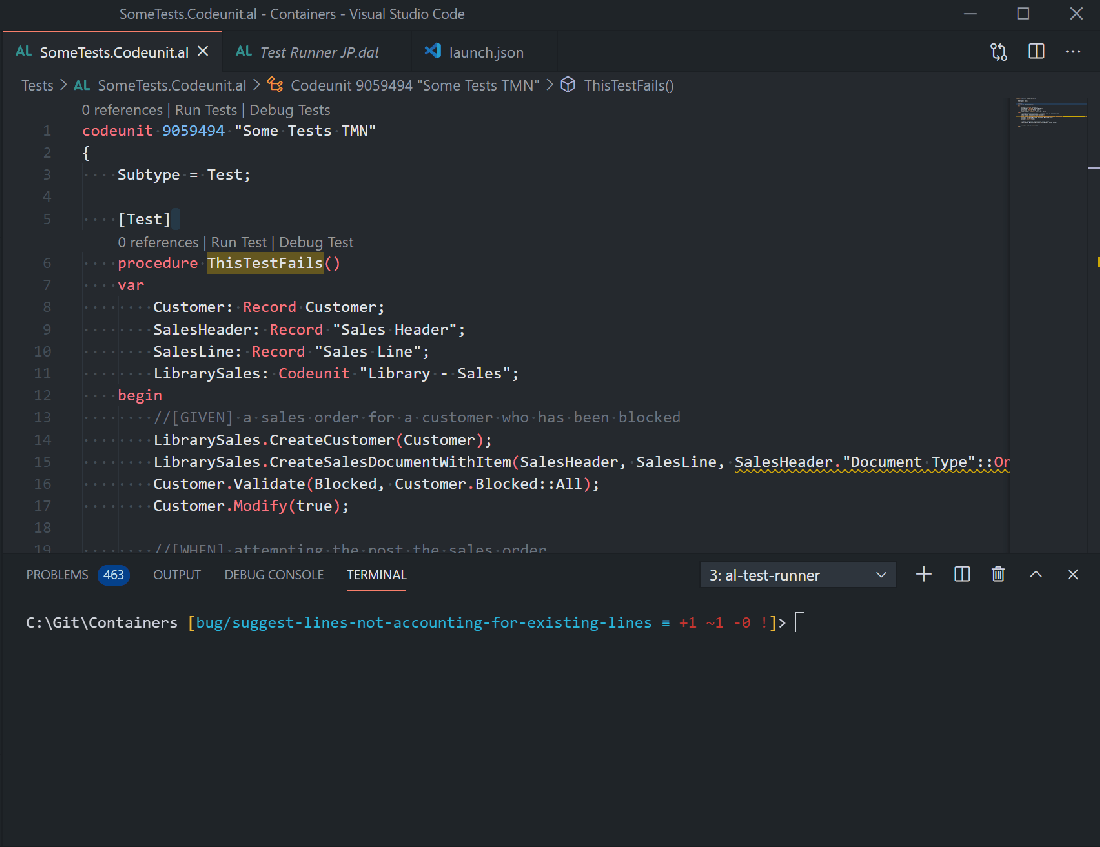
If you are writing Business Central automated tests then you are probably creating some data as part of those tests. Sometimes it can be useful to see the records that have been created, especially if you are trying to create the correct scenario for the GIVEN part of your test and are experimenting with the library codeunits in that part of the system.

Of course you can debug your tests and most of the time being able to see the variable values in the debugger is all you need. Other times it would be better to be able to see the whole table e.g. “why were there no Reservation Entries in the filter?” Opening the table, applying the filters and taking a look yourself can be faster than trawling through the debugger and tweaking the test code. See here for a little background.

What?

While you are debugging your test you can open a new web client session and navigate directly to the table by adding &table=[table id] to the end of the URL. You don’t need anything just to do that – just a browser. v0.5.4 of AL Test Runner adds a new command to launch the browser to the correct table id from the code. Just right click on the variable name and choose Show Table Data.

Table Locks

Depending on what data you are reading and when you are reading it you might find that the table is locked and the web client will not open it. There are a few things you can do in that case:

  • Try stepping through the code until the lock has been released on the table that you are interested in
  • Add a Commit after the data has been inserted (don’t worry – even code that is explicitly committed during a test is rolled back at the end)
  • Use a SQL query to read uncommitted data

Update Test Runner Service

You need v0.1.2 of the Test Runner Service app (because it adds a new method to return the table id for a given table name). You can install it using the Install Test Runner Service command in VS Code. If you’ve already got an older version installed you’ll need to start the app data upgrade yourself to complete the installation. You can get the app from here: https://github.com/jimmymcp/test-runner-service/raw/master/James%20Pearson_Test%20Runner%20Service.app

Video

If you prefer your demos prefaced with questionable accents I’ve got you covered here…

Increase ODataServicesOperationTimeout for Longer Debugging

TL;DR

Invoke-ScriptInBCContainer [container name] {Set-NavServerConfiguration bc -KeyName ODataServicesOperationTimeout -KeyValue 00:20:00 -ApplyTo All}

Timeout Error

If you use AL Test Runner to debug your tests then you are using the OData services to run the test in the background. OData calls have a timeout that is determined by the ODataServicesOperationTimeout key in the service tier configuration. The timeout is set to 8 minutes by default.

This means that a debug session will be closed after 8 minutes and if you haven’t finished you will receive an error like this:

The operation has been canceled because it took longer to generate rows than the specified threshold (00:08:00). Refine your filters to include less data and try again.

Debugging something for more than 8 minutes isn’t a happy place to be – but it happens. You step into a posting routine, the guts of some complex calculations or you aren’t really sure where to start and have to step through loads of code to try to narrow down the field of investigation. That was me this morning.

You can increase the timeout, for longer, blissfully uninterrupted debugging sessions. Yay. You can use the above command (on the Docker host) to set a new value for the timeout in hh:mm:ss. I don’t know if there is a maximum limit on the timeout but if you need more than 20 minutes, as per the example, then you have my sympathy!

Debugging Business Central Tests with AL Test Runner

TL;DR

  1. Install the Test Runner Service app (see https://github.com/jimmymcp/test-runner-service; direct download of the app file from here) or use the “Install Test Runner Service” command from VS Code to install into the Docker container specified in the config file
  2. Set the URL to the test runner service in the testRunnerServiceUrl key of the AL Test Runner config file
  3. Define a debug configuration of request type ‘attach’ in launch.json to attach the debugger to the service tier that you want to debug (should be the same service tier as specified by the testRunnerServiceUrl key)

Overview

From v0.4.0 of the AL Test Runner app it is possible to debug Business Central tests without leaving Visual Studio Code. There’s a lot of scope for improvements but if you’re interested in trying it out it’s included in the marketplace version now.

Test Runner Service App

This is a very simple app that exposes a codeunit as a web service to accept a codeunit ID and test name to run. Those values are passed to a test runner codeunit (codeunit isolation) to actually run the tests. This is so that the tests are executed in a session type of WebService which the debugger can attach to (the PowerShell runner creates a session type of ClientService).

The app is in the per tenant object range: 79150-79160 to be precise (a number picked pretty much at random). If that clashes with some other object ranges present in the database you can clone the repo and renumber the codeunits if you want. The source is here: https://github.com/jimmymcp/test-runner-service

You can use the Install Test Runner Service command in VS Code to automatically download the app and install into the container specified in the AL Test Runner config file.

The app is not code signed so you’ll need to use the -SkipVerification switch when you install it.

testRunnerServiceUrl

A new key is required in the AL Test Runner config file. This specifies the OData endpoint of the test runner service that is exposed by the Test Runner Service app. The service will be called from the VS Code terminal – so consider where the terminal is runner and where the service is hosted.

We develop against local Docker containers so the local VS Code instance will be able to access the web service without any trouble. If you develop against a remote Docker host make sure that the OData port is available externally. If you use VS Code remote development remember that the PowerShell session will be running on the VS Code server host.

The url will be in the format:

http[s]://[BC host]:[OData port]/[BC instance]/ODataV4/TestRunner?company=[BC company]

for example against a local Docker container called bc with OData exposed on the default port of 7048 and a company name of CRONUS International Ltd.:

"testRunnerServiceUrl": "http://bc:7048/BC/ODataV4/TestRunner?company=CRONUS%20International%20Ltd."

Debug Configuration

You will need a debug configuration of type attach in the launch.json file. This should attach the debugger to the same service as identified by the testRunnerServiceUrl key. breakOnNext should be set WebServiceClient. Currently UserPassword authentication is the only authentication method supported.

{
    "name": "Attach bc",
    "type": "al",
    "request": "attach",
    "server": "http://bc",
    "serverInstance": "bc",
    "authentication": "UserPassword",
    "breakOnError": true,
    "breakOnRecordWrite": false,
    "enableSqlInformationDebugger": true,
    "enableLongRunningSqlStatements": true,
    "longRunningSqlStatementsThreshold": 500,
    "numberOfSqlStatements": 10,
    "breakOnNext": "WebServiceClient"
}

Debugging

Codelens actions will be added at the top of test codeunits and before each test method. Set a breakpoint in the test method that you want to debug or allow the debugger to break on an error.

Clicking on Debug Test (Ctrl+Alt+D) will attach the first debug configuration specified in launch.json and call the web service to run the test with the Test Runner Service app.

Attaching the debugger and running a test from VS Code

Step in/out/over as usual. When the code execution has finished if an error was encountered the error message and callstack will be displayed in the terminal.

Limitations

There are some limitations to running tests in a web service session. Most importantly TestPage variables are not supported. There may also be some differences in the behaviour of tests in web services and the PowerShell runner.

Debugging the Next Session in Business Central

Business Central v15 includes some good new stuff for developers. Access modifiers for objects, smarter code analysis, background page tasks – there is a list of stuff here: https://docs.microsoft.com/en-us/dynamics365-release-plan/2019wave2/dynamics365-business-central/developer-tools

I’ve just been trying out the new debugger capability, specifically being able to attach the debugger to a service and debug the next session to hit a breakpoint or error.

A Brief Nostalgia Trip…

Excuse me if I indulge in a little nostalgia. If you don’t care about this and just want to know how it works then you can skip to “spare me the history lesson”.

The Classic Client Years

Still here? Then maybe you have been around NAV long enough to remember the introduction of the RoleTailored Client. We’d been used to having the Classic Client debugger for years. It wasn’t perfect, but we knew our way round it. We could easily switch between writing and debugging code, debug an application server or even debug a posting routine in live and lock the whole system – anyone else do that when they first started in support? Life was good.

The RoleTailored Client Years

Then the RoleTailored Client was introduced and it felt like we were developing with one arm tied behind our backs. No debugger. You could still debug in Classic Client but the clients weren’t necessarily even running the same C/AL code – thanks to the ISSERVICETIER keyword.

I know you could find the source that the service tier was actually running, attach Visual Studio to the Server.exe process and debug the C# but not many people wanted to do that. MESSAGE debugging was far more common. Especially entertaining if someone left a message box in live and you got a call from the customer wondering what some mysterious pop-up was about. Connoisseurs wrapped their MESSAGEs in

IF USERID = 'sa' THEN...

By NAV 2013, RTC was the only client customers could use and we had to be able to debug. To be fair, Microsoft came up with the goods and the new debugger was better than what we used to have in the Classic Client. Especially because we could debug other sessions connected to the same service tier or the next session to connect. Ask the user to repeat the steps that lead to error and debug their session, perfect. Also great for debugging web service calls.

The Business Central Years

And then along came Business Central. The RoleTailored Client, complete with debugger is going to be removed and we don’t quite have a replacement for everything we rely on it for. Sound familiar?

Don’t get me wrong, I love VS Code. I love the VS Code debugging experience. But how can I debug other user sessions? How can I debug web service calls?

Spare me the History Lesson, How Does it Work?

Open up launch.json and hit the Add Configuration button in the bottom right hand corner and you’ll notice a couple of new options:

  • Attach to the next client on the cloud sandbox
  • Attach to the next client on your server

Pick one of those and you’ll notice that the configuration it creates has a request value of attach.

breakOnNext determines the type of session that the debugger will be attached to: Background, WebClient or WebServiceClient.

Give the configuration a sensible name so that you’ll be able to refer to it when you attach the debugger. Attach the debugger by opening the debug pane, selecting your configuration and click on the Start Debugging button.

Set some breakpoints in your code and hit them. Either with some activity in the web client or with a web service call.

BreakOnNext Support

Note: the help for breakOnNext states “The sandbox version only supports attaching to a WebService Client”. This seems to apply to sandbox Docker containers (e.g. from mcr.microsoft.com/businesscentral/sandbox) as well as to cloud sandboxes. You can, however, use the other breakOnNext options with an on-premise Docker image (mcr.microsoft.com/businesscentral/onprem).