The July 2021 release of Visual Studio Code (1.59) introduced a new testing API and Test Explorer UI. From v0.6.0 this API is used by AL Test Runner.
Test Explorer Demo
Improvements
UI
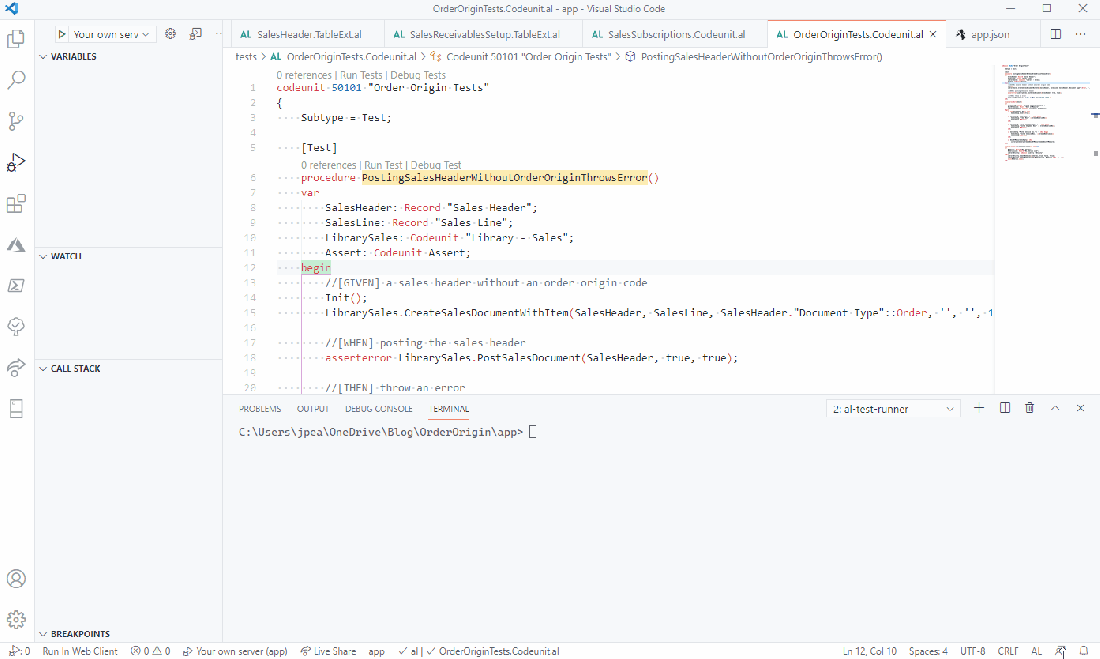
The biggest improvement is the Test Explorer view which shows your test codeunits, their test methods and the status of each.
Hovering over a test gives you three icons to run, debug or open an editor at the test.
You can run and debug all the tests in a given codeunit by hovering over the codeunit name or run and debug all tests at the top.
The filter box allows you to easily find specific tests, which I’ve found useful in projects which several test codeunits and hundreds of tests.
You can also filter to only show failed tests or only test which are present in the codeunit in the current editor. The explorer supports different ways of sorting and displaying the tests.
Icons are added into the gutter alongside test methods in the editor. Left click to run the test or right click to see this context menu with more options.
The old “Run Test” and “Debug Test” codelens actions are also still added above the test definition.
Commands & Shortcuts
A whole set of new commands are introduced with keyboard chords beginning with Ctrl + ; The existing AL Test Runner keyboard shortcuts still work but there are some nice options in the new set – like “Test: Rerun Last Run” to repeat the last run test without having to navigate to it again.
Using the Test Explorer
Using the Test Explorer is pretty self-explanatory if you’ve already been using AL Test Runner. When you open your workspace/folder the tests should be automatically discovered and loaded into the Test Explorer view. On first opening all of the tests will have no status i.e. neither pass or fail – but results from now on will be persisted.
Running one or more tests – regardless of where you run them from (Test Explorer, Command Palette, CodeLens, Keyboard Shortcut) – will start a test run. You’ll see “Running tests…” in the Status Bar.
Once the test(s) have finished running you’ll see the results at the top of the Test Explorer, “x / y tests passed (z %)”, and the status icons by each test will be updated.
If the tests do not actually run e.g. because your container isn’t started then the test run will not finish and “Running tests” will continue to spin at the bottom of the screen. You can stop the run manually from the top of the Test Explorer, fix the problem and go again.
In the latest version of AL Test Runner I’ve added an overall percentage code coverage and totals for number of lines hit and number of lines. I’ve hesitated whether to add this in previous versions. Let me explain why.
Measuring Code Coverage
First, what these stats actually are. From right to left:
Code Coverage 79% (501/636)
The total number of code lines in objects which were hit by the tests
The total number of lines hit by the tests
The percentage of the code lines hit in objects which were hit at least once
Notice that the stats only include objects which were hit by your tests. You might have a codeunit with thousands of lines of code, but if it isn’t hit at all by your tests it won’t count in the figures. That’s just how the code coverage stats come back from Business Central. Take a look at the file that is downloaded from the test runner if you’re interested (by default it’s saved as codecoverage.json in the .altestrunner folder).
It is important to bear this is mind when you are looking at the headline code coverage figure. If you have hundreds of objects and your tests only hit the code in one of them, but all of the code in that object – the code coverage % will be a misleading 100%. (If you don’t like that you’ll have to take it up with Microsoft, not me).
What Code Coverage Isn’t Good For
OK, but assuming that my tests hit at least some of the code in the most important objects then the overall percentage should be more or less accurate right? In which case we should be able to get an idea of how good the tests are for this project? No.
Code Coverage ≠ Test Quality
The fact that one or more tests hits a block of code does not tell you anything about how good those tests are. The tests could be completely meaningless and the code coverage % alone would not tell you. For example;
procedure CalcStandardDeviation(Values: List of [Decimal]): Decimal
var
    Value, Sum, Mean, SumOfVariance : Decimal;
begin
    foreach Value in Values do
        Sum += Value;
    Mean := Sum / Values.Count();
    foreach Value in Values do
        SumOfVariance += Power((Value - Mean), 2);
    exit(SumOfVariance / Values.Count());
end;

[Test]
procedure TestCalcStandardDeviation()
var
    Values: List of [Decimal];
begin
    Values.Add(1);
    Values.Add(3);
    Values.Add(8);
    Values.Add(12);

    CalcStandardDeviation(Values);
end;
Code coverage? 100% ✅
Does the code work? No ❌ The calculation of the standard deviation is wrong. It is a pointless test, it executes the code but doesn’t verify the result and so doesn’t identify the problem. (In case you’re wondering the result should be the square root of SumOfVariance).
Setting a Target for Code Coverage
What target should we set for code coverage in our projects? Don’t.
Why not? There are a couple of good reasons.
There is likely to be some code in your project that you don’t want to test
You might inadvertently encourage some undesired behaviour from your developers
Why Wouldn’t You Test Some of Your Code?
Personally, I try to avoid testing any code on pages. Tests which rely on test page objects take significantly longer to run, they can’t be debugged with AL Test Runner and I try to minimise the code that I write in pages anyway. Usually I don’t test any of:
Code in action triggers
Lookup, Drilldown, AssistEdit or page field validation triggers
OnOpen, OnClose, OnAfterGetRecord
…you get the idea, any of the code on a page
You might also choose not to test code that calls a 3rd party service. You don’t want your tests to become dependent on some other service being available, it is likely to slow the test down and you might end up paying for consumption of the service.
I would test the code that handles the response from the 3rd party but not the code that actually calls it e.g. not the code that sends the HTTP request or writes to a file.
Triggers in Install or Upgrade codeunits will not be tested. You can test the code that is called from those triggers, but not the triggers themselves.
If we already know that we have some code that we will not write tests for then it doesn’t make a lot of sense to set a hard target of 100%. But, what other number can you pick? Imagine two apps:
An app that is purely responsible for handling communication with some Azure Functions. Perhaps the majority of the code in that app is working with HTTP clients, headers and responses. It might not be practical to achieve code coverage of more than 50%
An app that implements a new sales price mechanism. It is pure AL code and the code is almost entirely in codeunits. It might be perfectly reasonable to expect code coverage of 95%
It doesn’t make sense to have a headline target for the developers to work to on both projects. Let’s say we’ve agreed as a team that we must have code coverage of at least 75%. We might incentivise developers on the first project to write some nonsense tests just to artificially boost the code coverage.
Meanwhile on the second project some developers might feel safe skipping writing tests for some important new code because the code coverage is already at 80%.
Neither of these scenarios is great, but, in fairness, the developers are doing what we’ve asked them to.
What is Code Coverage Good For?
So what is code coverage good for? It helps to identify objects that have a lot of lines which aren’t hit by tests. That’s why the output is split by object and includes the path to the source file. You can jump to the source file with Alt+Click.
Highlight the lines which were hit by the previous test run with the Toggle Code Coverage command. That way you can make an informed opinion about whether you ought to write some more tests for this part of the code or whether it is fine as it is.
50% code coverage might be fine when 1 out of 2 lines has been hit. It might not be fine when 360 out of 720 lines have been hit – but that’s for you to decide.
If you are writing Business Central automated tests then you are probably creating some data as part of those tests. Sometimes it can be useful to see the records that have been created, especially if you are trying to create the correct scenario for the GIVEN part of your test and are experimenting with the library codeunits in that part of the system.
Of course you can debug your tests and most of the time being able to see the variable values in the debugger is all you need. Other times it would be better to be able to see the whole table e.g. “why were there no Reservation Entries in the filter?” Opening the table, applying the filters and taking a look yourself can be faster than trawling through the debugger and tweaking the test code. See here for a little background.
What?
While you are debugging your test you can open a new web client session and navigate directly to the table by adding &table=[table id] to the end of the URL. You don’t need anything just to do that – just a browser. v0.5.4 of AL Test Runner adds a new command to launch the browser to the correct table id from the code. Just right click on the variable name and choose Show Table Data.
Table Locks
Depending on what data you are reading and when you are reading it you might find that the table is locked and the web client will not open it. There are a few things you can do in that case:
Try stepping through the code until the lock has been released on the table that you are interested in
Add a Commit after the data has been inserted (don’t worry – even code that is explicitly committed during a test is rolled back at the end)
Use a SQL query to read uncommitted data
Update Test Runner Service
You need v0.1.2 of the Test Runner Service app (because it adds a new method to return the table id for a given table name). You can install it using the Install Test Runner Service command in VS Code. If you’ve already got an older version installed you’ll need to start the app data upgrade yourself to complete the installation. You can get the app from here: https://github.com/jimmymcp/test-runner-service/raw/master/James%20Pearson_Test%20Runner%20Service.app
Video
If you prefer your demos prefaced with questionable accents I’ve got you covered here…
If you use AL Test Runner to debug your tests then you are using the OData services to run the test in the background. OData calls have a timeout that is determined by the ODataServicesOperationTimeout key in the service tier configuration. The timeout is set to 8 minutes by default.
This means that a debug session will be closed after 8 minutes and if you haven’t finished you will receive an error like this:
The operation has been canceled because it took longer to generate rows than the specified threshold (00:08:00). Refine your filters to include less data and try again.
Debugging something for more than 8 minutes isn’t a happy place to be – but it happens. You step into a posting routine, the guts of some complex calculations or you aren’t really sure where to start and have to step through loads of code to try to narrow down the field of investigation. That was me this morning.
You can increase the timeout, for longer, blissfully uninterrupted debugging sessions. Yay. You can use the above command (on the Docker host) to set a new value for the timeout in hh:mm:ss. I don’t know if there is a maximum limit on the timeout but if you need more than 20 minutes, as per the example, then you have my sympathy!
v0.5.0 of AL Test Runner adds some capability to measure code coverage per object and highlight the lines of code that were hit in the previous test run.
This is an example of what we’re aiming for. Running one or more tests, seeing the list of objects and the percentage of their code lines that were hit, opening those objects and highlighting those lines. This should help identify objects and code paths aren’t covered by any tests. I don’t believe code coverage should be a target in itself (maybe more on that in a separate post) but it can be a useful tool to see where you might want to bolster your test suite.
Example use of code coverage
Overview
Code coverage is started and stopped before each run of run or more tests. The Test Runner Service app is called to download the code coverage details and they are saved to a JSON file. This file is read and summarised into a per-object percentage which is output with the test results. Only objects which are defined in the workspace are included – so you won’t include standard objects, but you will see test objects.
The path to each object is included so you can Alt+Click to navigate to it. A new Toggle Code Coverage command (Ctrl+Alt+C) allows you to switch the highlighting for lines which have been hit on and off.
Setup
Install the Test Runner Service app with the command in Visual Studio Code. If it is already installed you will need to uninstall and unpublish the existing version first
In the AL Test Runner config.json file
Set the path to save the code coverage JSON file to in the codeCoveragePath key. This path is relative to the folder that contains your test code e.g. .//.altestrunner//codecoverage.json to save it within the .altestrunner folder
[Edit: this is now optional – see 0.5.3 update below] Select the path to the code coverage file relative to your app code i.e. if you have your test extension in a separate top level folder you might set it to ../tests/.altestrunner/codecoverage.json This allows AL Test Runner to find and display the code coverage details from an object in your app code
0.5.1 Update
Use the Exclude Code Coverage Files to define file paths that should be excluded from the code coverage summary. This is a regex pattern which is matched against the file paths. For example, setting this to “Tests” will exclude any files with “Tests” in their path.
Test Folder Name – specify the name of the folder which contains the test app. Previously if you worked in a multi-root workspace and had an editor open at the production app it would attempt to run tests in the production app, create a config file, ask you which company to test in, prompt for credentials…meh. With this setting AL Test Runner will always run tests in the app which is contained in the folder with the name given in this setting.
0.5.3 Update
Some of the early feedback from people who were trying to enable code coverage was that it was a bit of a game. And not in a good, fun way. More like Ludo. You’re trying to line up all your pieces but every time you think you’ve got them where you want them someone else lands on them and messes everything up.
From 0.5.3 it isn’t necessary to set the code coverage path in VS Code’s settings (see setup #3 above). If this path is not set then the extension will attempt to find the codecoverage.json file somewhere in the workspace.
The codeCoveragePath key in the AL Test Runner config file is still required, but has a default value which will be fine in most cases.
Ideas
Ideas and feedback welcome as issues (or better yet, pull requests) in the repo on GitHub. These are some that I might work on.
Maybe a setting to enter a glob pattern to include/exclude certain files and/or paths from the summary
Smoother setup of the different settings that are required – I’ve tried to provide sensible default values but they are a few things to enter correctly to get it working
Currently the code coverage file is overwritten with each test run – it would be more useful if this was cumulative so that running a single test didn’t overwrite all the results from a previous test run. If you want a complete overview you have to run the whole suite – but then maybe that isn’t a bad thing
Perhaps an overall code coverage percentage for the whole project as well as per app (with the above caveat that I’m sceptical about fixed code coverage targets)
A CodeLens at the top of an object with its percentage code coverage that toggles the highlighting on/off when clicked