
Let’s return to the subject of pipelines and this time let’s talk multi-stages. What is it and why might you want to implement it in your YAML file?
Builds/Releases
With the approach that Microsoft are now calling “classic” pipelines there was a definite division between a build pipeline and a release pipeline.
A build starts with a given version of your source code (a particular commit in your git repository, say) and proceeds to define the steps that should be performed on that code to “build” it.
You decide what “build” means and define the steps as you need them. In a Business Central AL extension context we’re probably talking: compile the extension into an app file, publish and install and run some tests.
A release takes artifact(s) that have been created by a particular build and/or code from a particular repository and “releases” them. Again, you define whatever “release” actually means to you. Publish an app file into a Business Central database, upload it to SharePoint, decompress the app file and send the source code to a printer – whatever you want.
Build pipelines can still be defined in the classic, visual editor or in a YAML file. The Azure DevOps interface makes it pretty obvious which way they recommend you do this. It took me a second to spot the discrete “use the classic editor” link when creating a new pipeline.
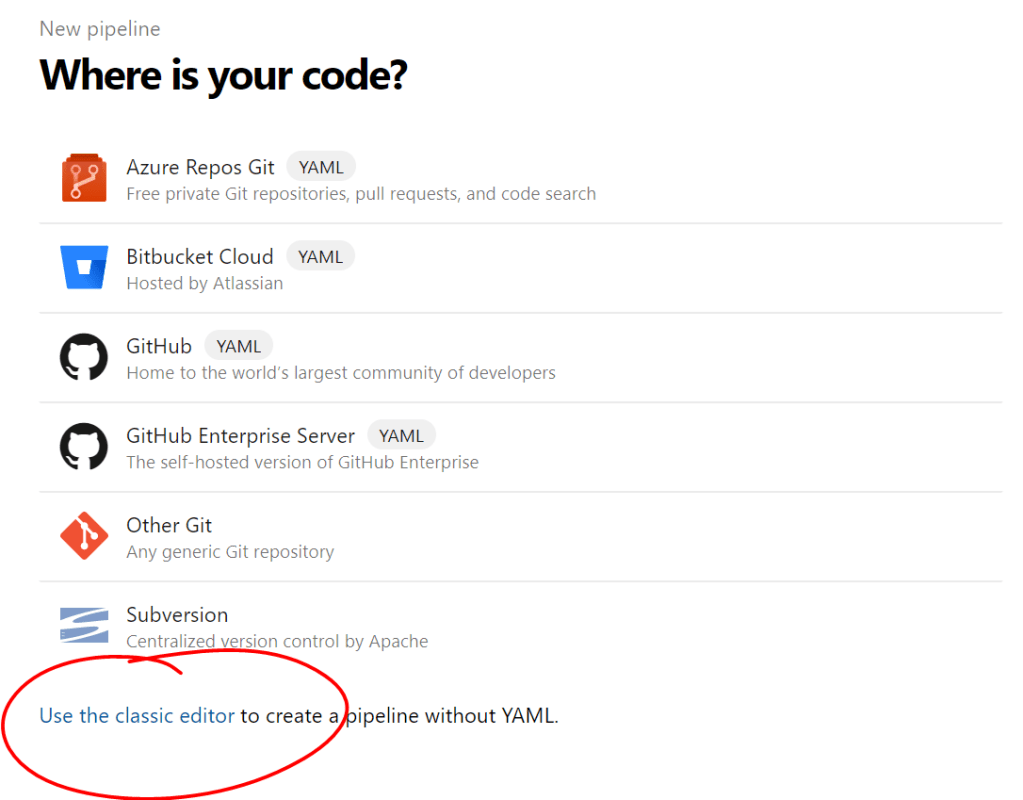
Clicking that link and successfully avoiding the top option from the following page which still creates a YAML file anyway will get you to the classic, visual editor. Select the agent that is going to run this pipeline, add one or more jobs and add one or more tasks to each job.

Even now, you’ll notice a “View YAML” link in the top right hand corner of the screen. Subtle. The term “classic” usually means something different when we’re talking about software than when we’re talking about novels. Less “masterpiece, will still be appreciated a century from now” and more “outdated, will be made obsolete and removed a few months from now”.
It’s probably a safe bet that the “classic” editor is going to go the same way as NAV’s “classic client” with its “classic reports”.
For completeness, the Release editor looks like this:

I’ve defined the build pipeline that provides the artifacts that will be released and can now define the stages and tasks involved in releasing it. At the time of writing you will still get this editor when creating a new pipelines from the Releases menu.
Multi-Stage Pipelines

Enter multi-stage pipelines. Rather than defining your build and your release tasks in separate editors you can define them in a single YAML pipeline definition.
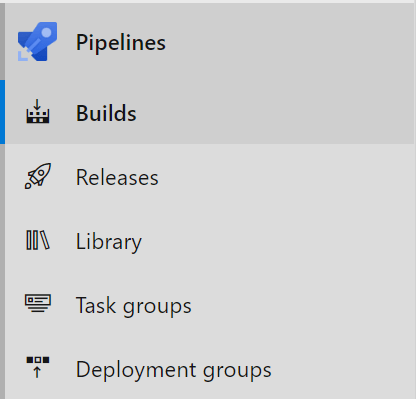
You’ll need to enable the preview feature (from your profile menu in the top right hand corner). You’ll notice that the “Builds” option disappears from the Pipelines menu and is replaced with two new options “Pipelines” and “Environments”. Intriguing.
Now we can work with pipelines that look something like this:
trigger:
  '*'
parameters:
  image_name: a.docker.image
  container_name: my_container
stages:
- stage: build
  jobs:
  - job: Build
    pool:
      name: Default
    steps:
      (definition of the steps that are included in the build stage)
- stage: release
  condition:  and(succeeded(), eq(variables['build.sourceBranch'], 'refs/heads/master'))
  jobs:
  - deployment:
    pool:
      name: Default
    environment: QA
    (further definition of the steps involved in the release stage)
We’ll go into the details of a complete multi-stage YAML pipeline in another post. For now I just want to outline the structure of the file:
stages (1) -> stage (1..*) -> jobs (1) -> job (1..*) -> steps/deployment/tasks
You can include as many stages as you need to effectively manage the build and deployment of your software. Each stage can evaluate a condition expression which decides whether the stage should be run or not. In my case I only want to run the release stage if the pipeline has succeeded up to this point and the pipeline has been triggered by the master branch.
By default, stages will be run in series and will be dependent upon the previous stage. You can mix this up by defining the dependsOn key for each stage.
Environments
You’ll also notice that my ‘deployment’ task includes the environment to which I’m going to deploy my software. This will correspond to an environment that you have created from the Environments option of the Pipelines menu in Azure DevOps.

You can control how and when code is released to a given environment with stage conditions (as above) or with manual approvals.
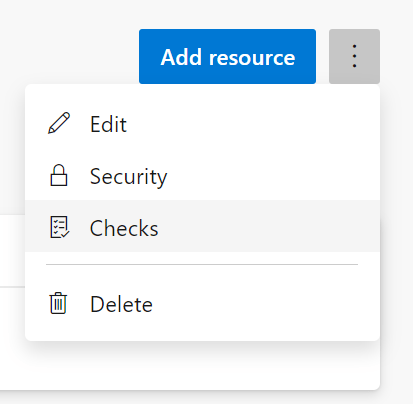
Open the environment and select ‘Checks’ from the menu. All approvers that are entered on the following page must approve a pipeline before the deployment to the environment will proceed. The pipeline will be paused in the meantime.
Next time…
I hope that’s enough to whet your appetite to go and investigate the possibilities for yourself and see if/how you can start making use of this in your own development team.
Next time we’ll go through a more complete example of a multi-stage YAML pipeline and how it is put together and works. Until then you might like to check out the recording of the webinar that I did for Areopa webinars. If you like it, do them a favour and subscribe to the channel, thanks.

4 thoughts on “YAML Multi-Stage Pipelines in Azure DevOps, Stage 1”