Overview
This post is an update to a post I made about YAML pipelines here. We’ll also take the opportunity to discuss why you might want to define a pipeline with YAML.
Wait…What?
What the heck are we talking about? (skip this bit if you do know what we’re talking about) A pipeline defines a series of tasks, running on defined environments that are performed with your code. In Azure DevOps they come in two flavours:
- Build – for us that means, taking our AL source code, splitting it into two (test app and production app), compiling them, signing them, publishing and installing into a new container and running the tests and saving the .app files as artefacts of the build
- Release – taking the built software and deploying it into one or more test and/or production environments – we don’t currently use release pipelines
Pipeline as Code, Why?
Defining the steps involved in your pipeline in a YAML file is sometimes called “pipeline as code” because the YAML file is checked-in to your repository alongside your source code.
The benefit is that your pipeline is version controlled. You can view its history, compare versions, blame/annotate etc. You could also have different versions of your pipeline in different branches and include it in a pull request.
The downside is of having yet another markup language to learn. What are you supposed to put in this file anyway?
Defining the Pipeline
Let’s consider two ways of creating and maintaining your pipeline file. I’m sticking to Visual Studio Code and Azure Repos/Pipelines in Azure DevOps as that’s what I’m familiar with. Loads of other options are available, loads of them supported in Azure DevOps.
In Azure DevOps
The features in Azure DevOps and the UI change frequently as they add new stuff. Microsoft announced loads of changes, including a new YAML editing experience (below) and YAML release pipelines, at Build 2019. You can browse through and watch sessions here: https://www.microsoft.com/en-us/build search for DevOps to jump to the sessions related to this post.
I’ve got a Hello World app with the AL code hosted in Azure Repos. Let’s walk through creating the pipeline file in the UI. Select Builds from the Pipelines menu and hit the “New pipeline” button.

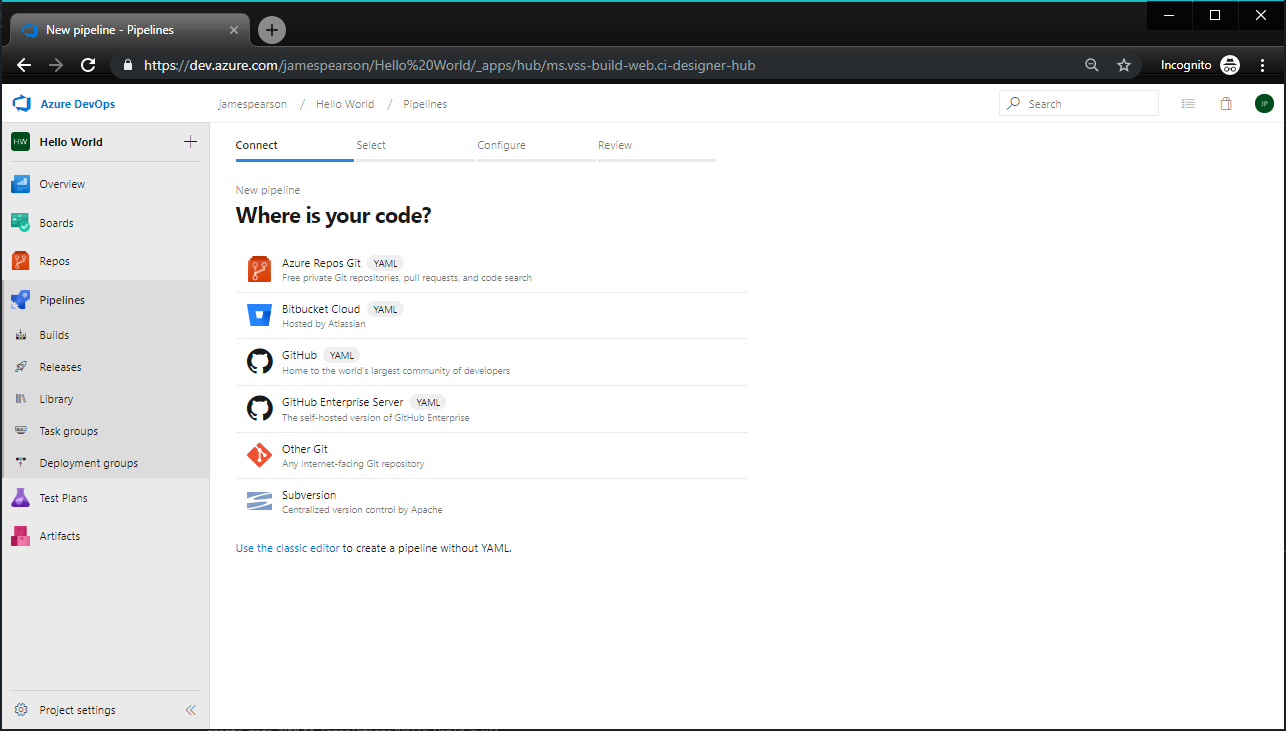
Choose where you want this pipeline to fetch the source code from. In my case it’s in an Azure Repos Git repository.

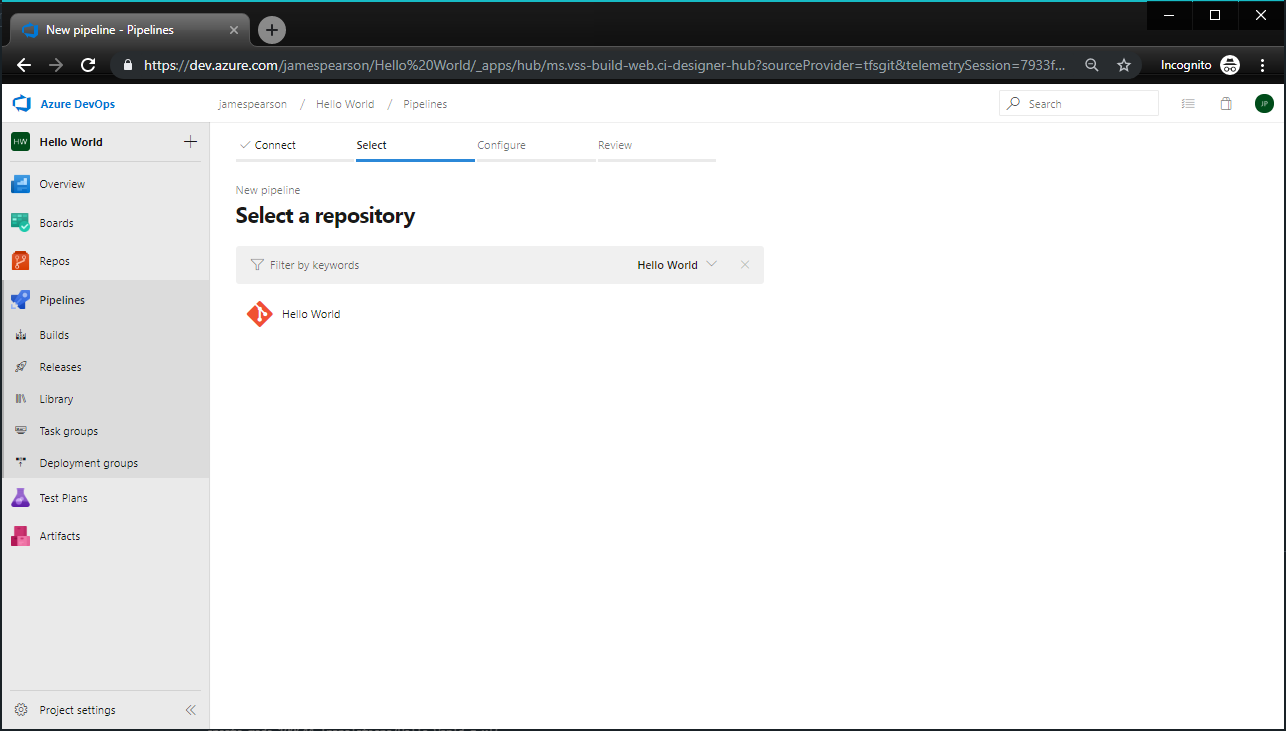
And I’ve only got one in this project, so I’ll select that.

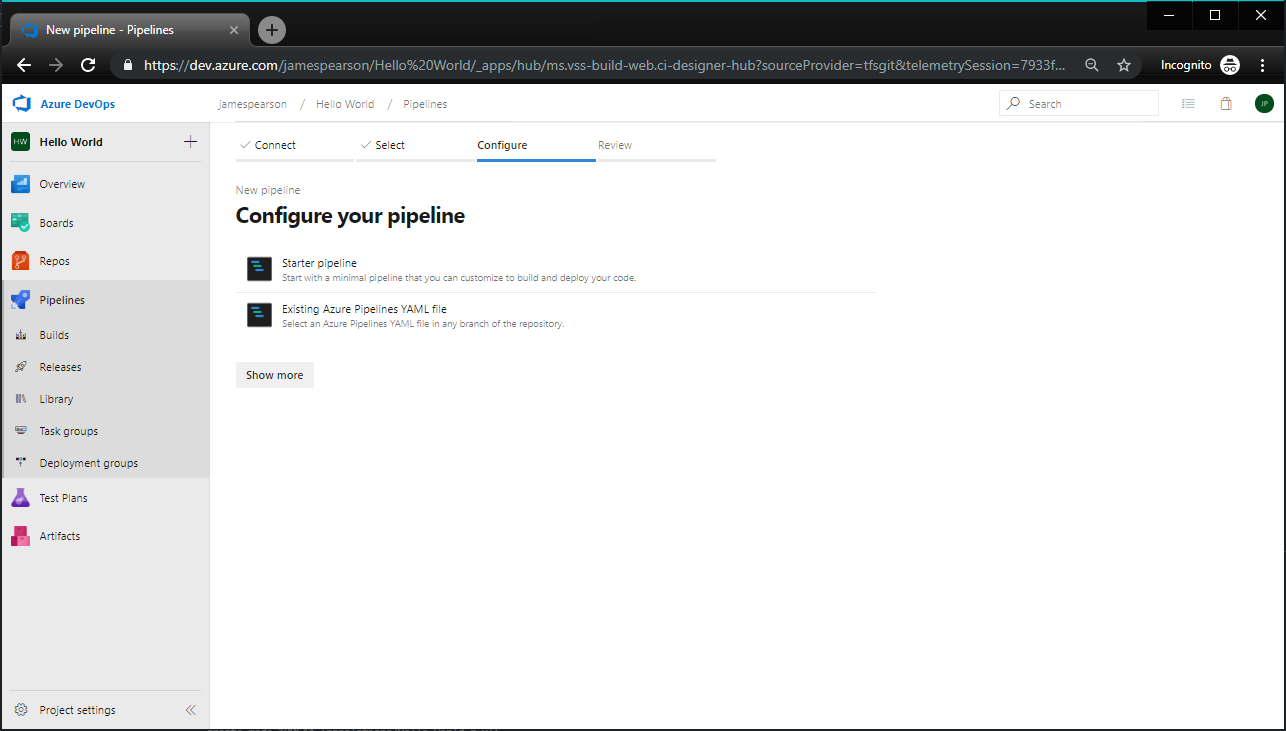
I don’t have an existing pipeline file, so I’ll create a starter pipeline.

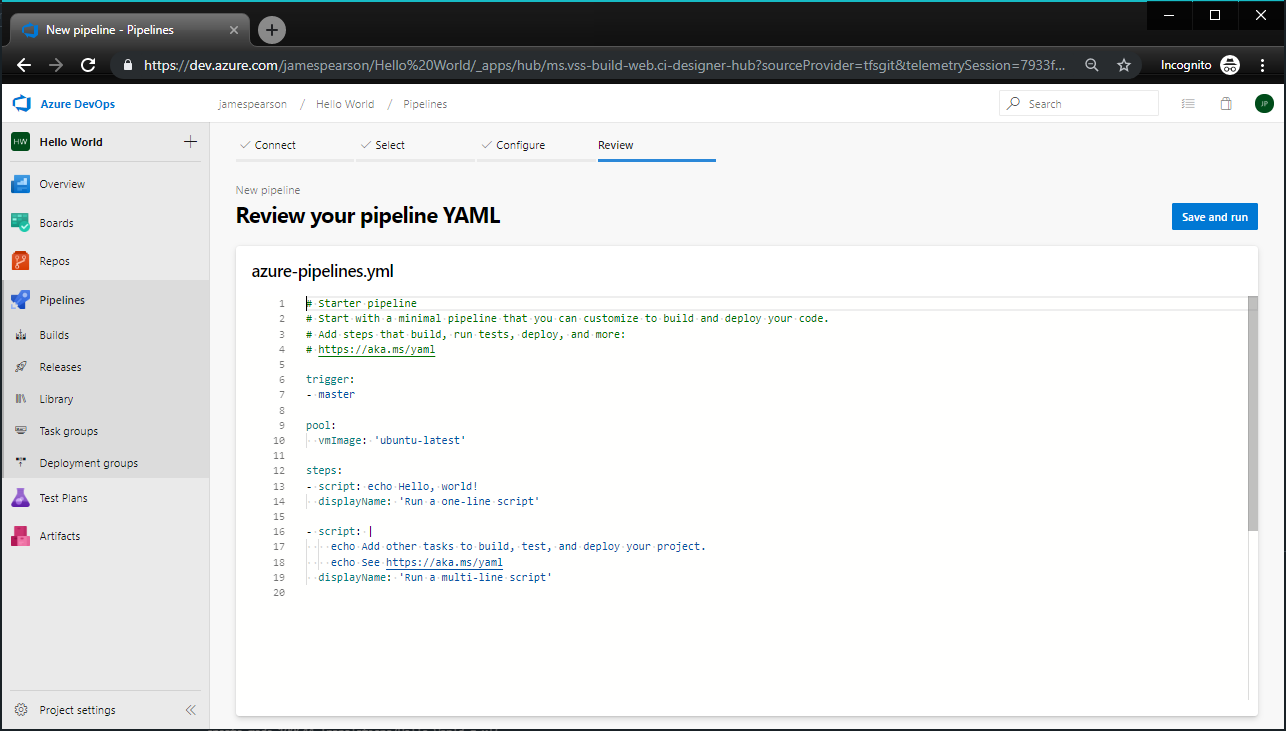
And there it is.

Great…but what does all that mean?
Firstly, this is a pretty neat editor. It works a lot like Visual Studio Code. Maybe it even is Visual Studio Code behind the web page, for all I know. You can hover over different parts of the file and get tooltips about what they do. You also get intellisense when you hit Ctrl+Space giving you some info about the valid options for this part of the file.

Briefly, this pipeline will:
- Trigger a build when changes are pushed to the master branch
- Run the build on a hosted ubuntu agent (this is the “we love Linux, we love open-source” Microsoft after all)
- Run a script to echo “Hello, World!”
- Run another script to echo some more text
Let’s save and run the pipeline. I’ll commit straight to the master branch for now.
I’m bounced over to see the build that has been scheduled and can watch it run. This is the result:

You can click into each of the steps to see the logs for that step.

In Visual Studio Code
Notice that the file created above was automatically named .azure-pipelines.yml. That is the magic name that Azure DevOps will automatically recognise as defining a pipeline. That means if you create a file with that name and push it to Azure Repos it will automatically create a pipeline using that file as the definition for you.

When I flick back to Visual Studio Code I’ve got a commit waiting to be fetched into my local repo which was created when I saved the pipeline file. Now that I’ve got .azure-pipelines.yml locally I can edit it and source control it just like anything else.
To get the same editing experience as you had online you’re going to want to grab the Azure Pipelines extension for Visual Studio Code. That will recognise that the file is a pipeline definition and give you all the intellisense and more-info goodness you had in the browser.
Further Reading
For more information about what you can do with the yml file check out: https://aka.ms/yaml otherwise I’ll follow up with something more Business Central specific in another post.
Hmm it looks like your blog ate my first comment (it was extremely
long) so I guess I’ll just sum it up what I had written and say, I’m thoroughly enjoying your blog.
I too am an aspiring blog blogger but I’m still
new to the whole thing. Do you have any recommendations for novice blog writers?
I’d certainly appreciate it.
LikeLike